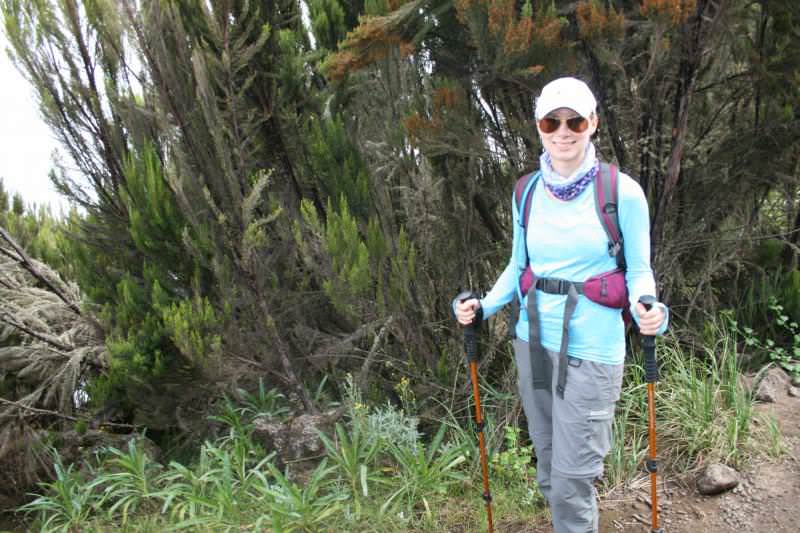
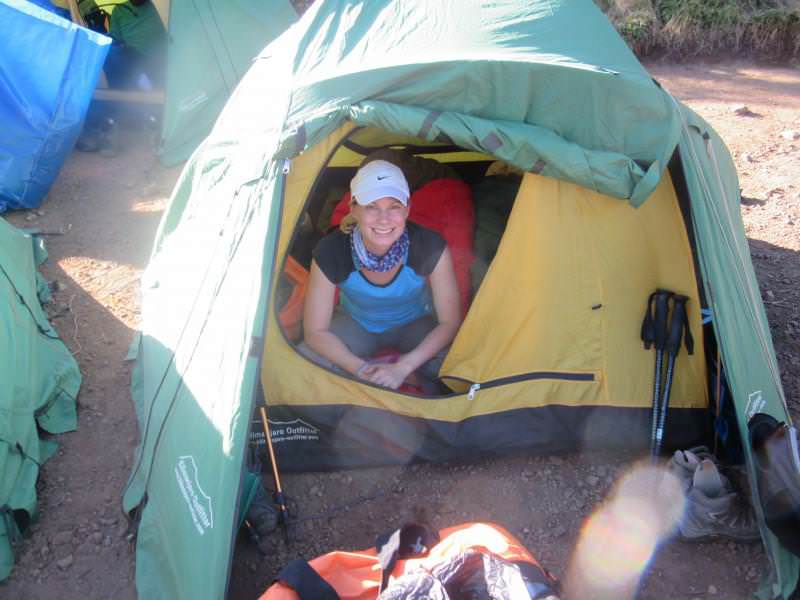
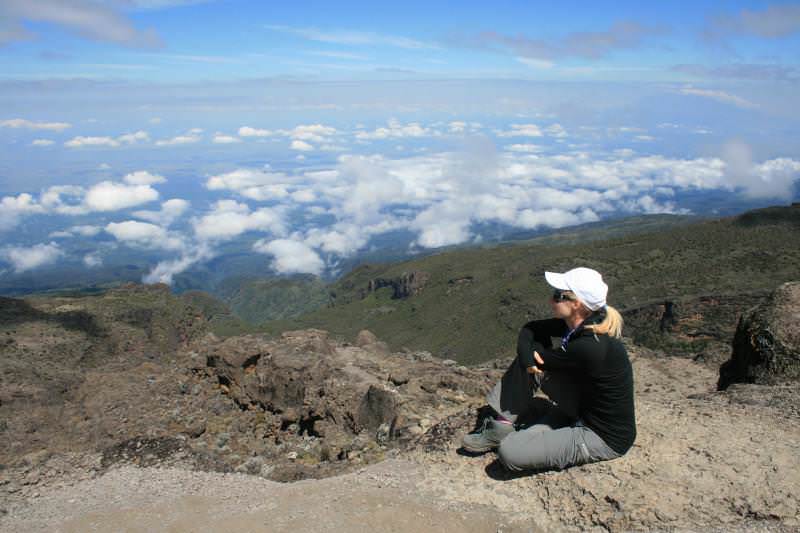
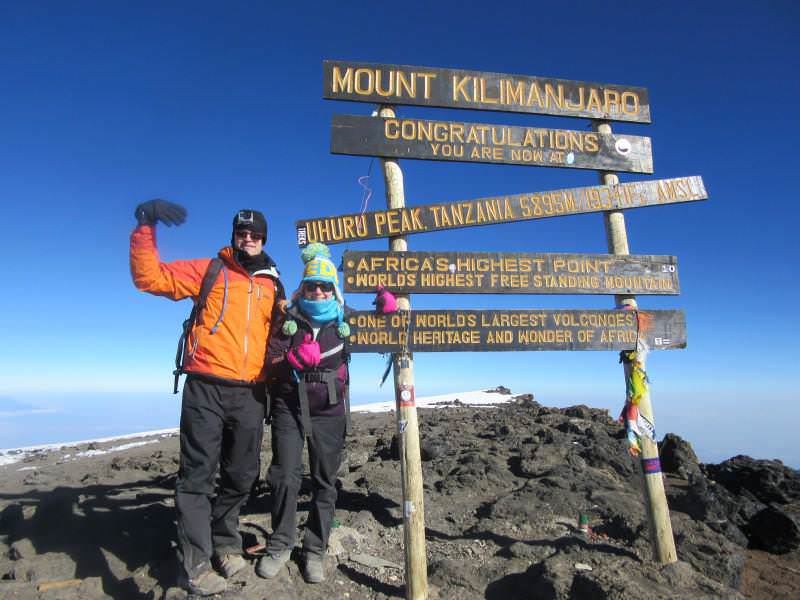
I’ve started on the first day of my epic trip today, having landed in Tanzania yesterday. While I’m away climbing Mount Kilimanjaro, I’ve asked a couple of people to write guest blogs to keep you entertained. First up is Miranda from Thoughts and Pavement, who provided me with the most extensive Kili packing list (the one I used to pack the very bag I have with me now).
Hi! I’m Miranda, and I have been a big fan of The Runner Beans since I moved to London from Toronto, Canada a year and half ago. I also write a blog about fitness and running called Thoughts and Pavement, and like Charlie, one my of big bucket list items was to climb Mount Kilimanjaro. I had the opportunity to do this last year, so you can imagine my excitement when I saw that Charlie was planning her own climb!
I knew I could help – especially when it comes to packing. Typically, I am the kind of girl that packs for things the night before, or the even morning of the trip. But preparing for a trek up to Africa’s highest point is a long process, and it requires more thought and organization than your typical weekend trip or summer holiday. Some things I packed were very useful, and some things were a total waste of space, but over my 7 day trek up to Uhuru Peak, I amassed some knowledge about the best things to bring – especially if you’re a woman. So here it is: my essential list of things to bring on a hike up Kilimanjaro.
First, some general rules:
- No cotton on Kili! Think dry-fit material or quick drying garments for all layers. If you’re a runner, you probably own a lot of suitable stuff already.
- Lighter is better. I realise the following list is extensive, but try to be as minimalist as possible. Your porters will thank you.
- Think in layers and pack clothes you can layer effectively. On summit night, I literally wore 7 layers. I was like a burrito. Mmm… burritos.
- Finally, your trekking company will provide you with a list, and just like Santa, check it twice. Actually check it many times. Like 10 times. And then check it again. The list below includes many of the items they will tell you to bring, plus some insider tips and some things I wish I had.
Clothing: From top to bottom
– A hat with a brim (like a baseball cap or one of those cool Tilly hats if you want to really look the part. Basically you want something that covers your face and shields your eyes)
– A super warm winter hat. If it can cover your ears even better.
– A buff. I didn’t even know what this was before I left, but this became my go-to item and I wore it nearly every day. It’s a multi-purpose item that works well as a headband, bandana, neck warmer and more.
– Sunglasses
– 3x sports bras
– 3x dry fit t-shirts
– 2x long sleeve dry fit shirts
– A long sleeve fleece pullover
– A down jacket, or super warm winter coat for summit night, preferably with a hood
– A raincoat. Sometimes it rains. I got lucky, and we never needed rain gear, but it was nice lightweight jacket to have on cooler mornings
– 5 x underwear.
– Warm, winter mittens, NOT gloves. My husband nearly didn’t make it to the summit because his hands were so frozen from his gloves. Tip: when your fingers are altogether in mittens, they stay warmer.
– 1 pair of merino wool tights (for summit night to wear under your thicker trousers, or to sleep in at night)
– 3 x hiking trousers. Two lightweight pairs with at least one that zips off into shorts and one warmer, thicker, waterproof pair. Optional: snow trousers. If you get cold really easily, or your cold tolerance is low, consider these. I found that my wool tights + thicker trousers were perfectly fine.
– 5 x pairs of socks. Three lightweight wool or sock liners, 2 heavier wool.
– Your well-worn in hiking boots. Just like race day, try nothing new when climbing a mountain! Make sure your hiking boots are well worn in before you go!
– Trainers. Some grubby ones for late night trips to the loo and wandering around camp in the evenings.
– One outfit that you will keep clean and wear on the celebration night after you’ve returned and had a shower. I screwed this up and didn’t have anything clean to wear! There is literally nothing worse than showering for the first time in 7 days and having to put on crusty old socks. Ugh!
Toiletries
– Baby powder. A little baby powder can make you feel fresh and clean in lieu of a shower!
– Dry shampoo. Same concept as the baby powder, though surprisingly my hair didn’t look too bad after 7 days of not showering!
– Baby wipes
– Hand sanitizer
– Hair elastics or headbands
– Vaseline. Your lips get dry. So does the skin under your nose.
– Sun cream. Mainly for your face.
– Deodorant. Obviously.
– Bar soap. Most tours will give you hot water to wash your face with in the mornings and evenings
– A nail file. Nothing more annoying than a broken nail!
– Panty liners. This is maybe TMI, but it’s a lot easier to change one of these each day, vs changing your underwear. Trust me. This also helps you leave a smaller impact on the mountain by not leaving used toilet paper all over the place!
– But… that said, you also want to bring one roll of toilet tissue.
– Toothbrush and toothpaste
– Body lotion. Your skin gets dry, especially your face
Random tip: some of the girls on my trip had their nails painted a dark purple or even black before they left. This is because no matter how clean you try to be, you get tons of dirt under your nails. If this will bother you, paint your nails a dark colour in advance and you won’t notice 🙂
Medications
-Make sure you head to a travel clinic before you go to ensure that all your vaccinations are up-to-date. I needed 5!
-If you’re taking drugs for altitude or malaria, make sure you pack them. Malaria pills are highly recommended. I used Malarone, which is slightly more expensive but doesn’t give you nightmares (a pretty rough side-effect of the cheaper version!) I also used altitude pills called Diamox, which helps your body adjust to the altitude. But beware: they are a diuretic so you’ll be going a lot!
– Plasters and disinfectant (like Neosporin), because, hey. Accidents happen.
Tech
– Your camera
– Extra batteries or battery packs. The worst thing that could happen would be getting to Uhuru peak with dead batteries! Also, the cold tends to destroy battery life, so try to keep your phone / camera batteries in your sleeping bag to make it last longer. There’s not a lot of cell reception on the mountain, but if you need a phone, better that it’s not dead!
– iPod or something to play music. I had a few low moments on summit night and this helped immensely. I listened to my marathon playlist TWICE through.
– A head lamp
Other stuff
– Hiking poles. Some trekking companies will provide these or allow you to rent them so check in advance. They are absolutely essential. You can buy your own at Mountain Warehouse for a reasonable price.
– A medium size, comfortable rucksack (40-60L should do).This is your day pack that you will carry every day with things like water, camera, extra layers, snacks. Porters will carry everything else.
– Snacks. Lots of energy bars, gels, granola bars. Anything that is small, portable and full of energy.
– A 1 litre water bottle
– A camel back insert or bladder like this one. This will go in your backpack and provide you with easy access to water all day long. They recommend you drink at least 2L of water minimally each day.
– Copy of Yellow Fever vaccination confirmation
– Hand and feet warmers. You can get these at Mountain Warehouse or Cotswolds. Essential for summit night because your fingers and toes get really cold!
– A notebook and pen
– Small, quick drying hand towel
– Plastic bags (for dirty laundry and rubbish)
Your trekking company will probably provide the following, but double check beforehand:
- Sleeping bag
- Sleeping mat
- Tent
- All meals
- Filtered water
With all of the above items, you’ll be well prepared for what I promise will be one of the most rewarding experiences of your life. Be prepared to laugh. To cry. To push yourself to limits you didn’t think were possible – mentally and physically. It really is the trip of a lifetime.
If you’d like to read more about my experience on Kilimanjaro, you can check out my recap post here, or my day-by-day journal here with all the details – what I wore, what I ate, where we slept, the state of the toilets en route. You name it. It’s all there. And if you have any questions about what to pack or expect, feel free to leave me a comment.
Thanks so much Miranda, do go and check out her awesome blog! I’ve got another great guest post on Sunday so don’t forget to check back!


Climbing Kilimanjaro is on my bucket list; I would love to do it! Wishing you lots of luck with your climb!
Wow, so cool!! That’s actually a great tip about painting your fingernails a dark color. I could see where that might apply to other adventures too! And I always paint my toenails in the summer, just to cover up my scary black runner toenails 🙂 Thanks for this great post. Congrats to you on this achievement Miranda!
A brilliant post. I really enjoyed reading this! Well Done Miranda and Good Luck Charlie!
Great post. We would recommend a smaller daypack. 35L is perfect for most people.